Thursday, March 13, 2014

Bird masks

We got a new pack of construction paper a couple weeks ago and the kids have been going wild with coloring and cutting. Somehow the idea came up that we could make masks (I think Z had been folding paper and holding the holes up to his eyes), so I decided to make a bird mask. It turned out to be a pretty fun project so I thought I'd share. 
Materials: a model, construction paper in bird and beak colors, scissors, pencil, something to color the bird with, and tape.
First, cut out the mask:
fold the construction paper in half
hold it over half the model's face and mark eyes, nose, and mouth
draw a "breathing hole": pointed at the top to fit the nose and extending below the lips to leave room for talking
cut out the breathing hole and eye holes
 Then, make the beak:
fold the beak-coloer paper into four and cut a triangle, folded along the longer leg
the foundation for a mask!
Punch breathing-holes in the top of the beak. 
Decorate the mask according to whatever bird you've chosen. I use Google Image search for reference.
Best to press down the beak while the mask is unfolded—the beak looks better that way.
Try the mask on and note where the forehead curves into the top of the head. Mark the "corner" of the forehead.
Cut to form a crest and continue cuts to the corners of the forehead.
Glue the two sides of the crest together and fold down the forehead part.
Fold down triangular flaps to make the head smooth from forehead to crest and glue down the forehead part.
Cut off excess paper.
Glue down the remaining flaps.
Our bird mask is almost finished!
Add a bit of tape to close the mask. For larger heads, a scrap of paper can be tapes on as a band.
From the side
From the front
Three finished masks!

All at once now!

Monday, September 27, 2010

Chai muffins

So, on Saturday I wanted to make cupcakes. Just one of those cravings, you know? Well, turned out we were having Indian for dinner, and cupcakes wouldn't fit. Or would they? They would if they were chai flavored, right? And what about muffins, instead of cupcakes, Jess asked me. Well, I managed to find a recipe. Original comes from a place called MiHow, but I took some advice from Alton Brown on making muffins, which changed the mixing instructions, and had to make some alterations. Below's a rough approximation to what I did, since I did wing a bit of it.
    • 1 cup milk
    • A bit of brown sugar (probably about 1/4 cup)
    • 1 tsp cardamom seeds
    • 3 or 4 cloves
    • 1/2 tsp ground ginger
    • 1/2 tsp ground cinnamon
    • 1/2 cup sugar
    • 1/3 cup coconut oil
    • 1 egg
    • 1 cup white whole wheat flour
    • 1 cup stone ground whole wheat flour
    • 3 tsp baking powder
    • 1/2 tsp salt
    1. Preheat oven to 400º. Grease a muffin tin.
    2. Grind cardamom seeds and cloves in a spice grinder.
    3. Mix milk, brown sugar, cardamom, cloves, ginger, and cinnamon in a small saucepan over medium-low heat. Warm milk, but don't boil it. Stir while warming to dissolve spices. Remove from heat.
    4. Add the sugar, stirring until dissolved. Melt the coconut oil, and then add to the milk mixture.
    5. In a small bowl, beat the egg; then, temper it into the milk mixture.
    6. In a large bowl, whisk the flours, baking powder, and salt together. Create a well in the flour, add the liquid and mix until just combined.
    7. Spoon into prepared muffin tin. The cups should be about 3/4 full.
    8. Bake until done, about 25 minutes.
    9. Let cool slightly, then remove from the pan. If you let it sit too long, the muffins will stick to the pan, and that's not a pretty picture. Still tasty, but not pretty.

Sunday, June 07, 2009

Zeke's Birth Story

We were due on Monday. Monday came and went. So did Tuesday. Rich stayed up late Wednesday night to finish the work project he wanted to get done before paternity leave. We kept our appointment with Ingrid (our midwife) on Thursday afternoon.

Thursday night (really 1:30 Friday morning), I found myself awake (as was happening pretty frequently those last few weeks). My underwear felt moist, and I woke Rich up, saying "I think my water might have broke." I thought to myself, "It doesn't feel that wet, and I don't want to get out of bed to check. I'll just bear down a little and see what happens." I felt a gush and let Rich know, "Yup, it did."

So I heaved myself out of bed and waddled to the toilet. Rich and I asked each other, "What do we do now?" We were both giddy with excitement. Our parents were "on call" all week, so we called them to let them know birth was imminent so they could plan to drive up from Chicago. We called Ingrid. No contractions. No color in the fluid. Go back to bed. You'll need the rest. Back to bed?! We're having a baby! It's really happening! How could we rest?! After half an hour on the toilet, my butt was getting sore. I waddled back to bed and slept on and off through the early morning. Rich got up to let my mom in around 5:30 and we all went back to sleep.

Friday morning arrived with no change. Still leaking. No contractions. Clear fluid. We all sat around all day. Really mild contractions that evening, but nothing regular.

Saturday morning, Ingrid is thinking the baby's head isn't making good contact with my cervix and recommends massage and/or acupuncture. I don't want to drive anywhere, so she makes a phone call and is able to convince Chandon to come out that afternoon. She says she and Hannah (an apprentice midwife who had been at most of our prenatal visits) will be out afterwards for my first dose of antibiotics (I had tested positive for Group B Strep).

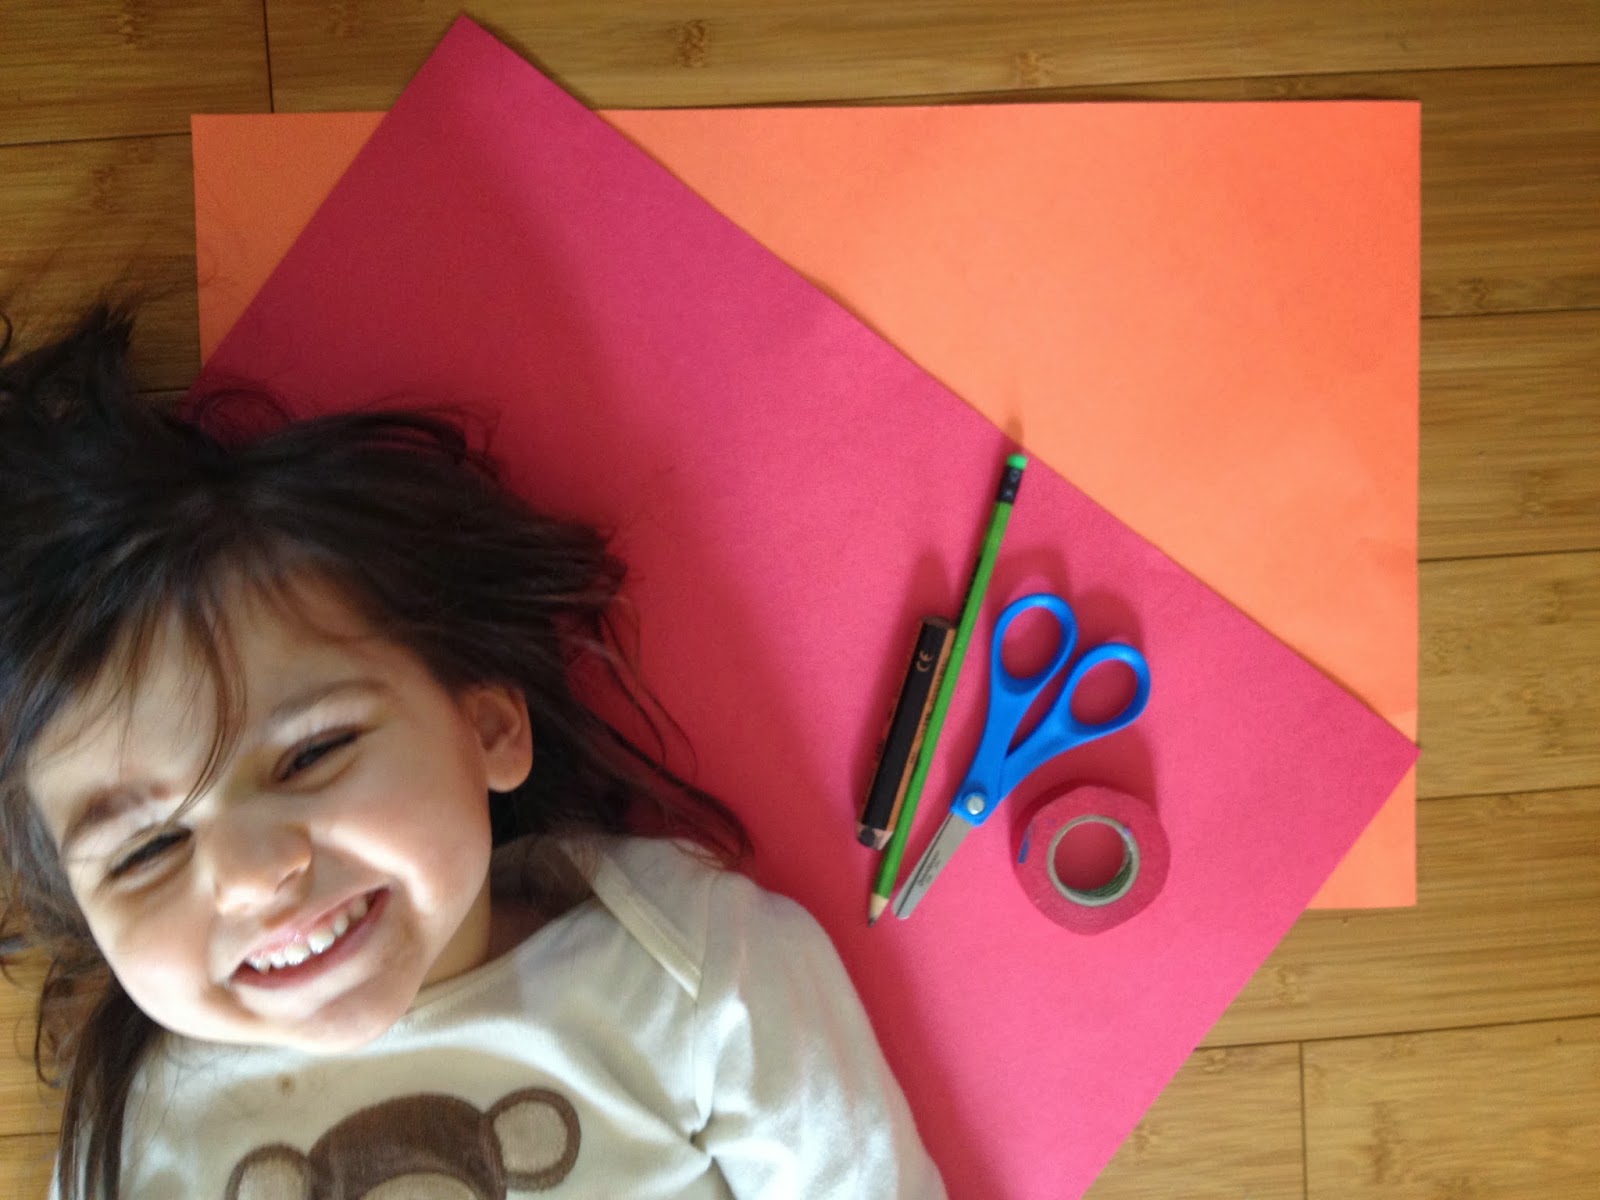
Spent the morning trying to figure out an annual online puzzle-competition. Chandon came over and Rich tried to entertain her little boy while she manipulated my belly and put in the acupuncture needles. Of course, as soon as everyone was out of earshot, a cat emerged from under the bed and jumped right into my needle-filled back. On her way out, Chandon recommended going for a walk, as well as eggplant and spicy food. We walked around the block and decided to skip the eggplant and do some spicy sushi for lunch. Contractions were a little stronger, but still not regular.

Ingrid and Hannah arrived as we were finishing up. I got a dose of IV antibiotics. The question I didn't want to ask. How long is too long? What happens now? If the labor wasn't going strong by first shift tomorrow morning, we would head to the hospital. They recommended I walk up and down the stairs, take as many as I could with each step.

As they were leaving, they asked if we had any ice cream in the house. This sounded promising. But we only had a little bit—it was February! Is there an ice cream place nearby? We've got three. Perfect! After dinner, get yourself a shake, pour the rest of this bottle into it and mix it in before you drink it. What's in the bottle? Castor oil. This did not sound pleasant.

I did more stairs and we had dinner and took a nap while mom went to pick dad up at the bus station. We woke up and got shakes. I mixed the castor oil into mine and ate it between laps up and down the staircase. It wasn't all that bad, the texture was just a little extra oily. We went back to bed.

Half an hour later, I was awake. And in a contraction. It seemed better when I was up and rocking from side to side. He started timing. I tried a hot shower, and had Rich push on my lower back, but the contraction still wasn't over. More rocking. The contraction was still going. Rich checked his timer. Fourty-five minutes. Does this count as regular contractions? I don't know. Call Ingrid. She and Hannah will be over around one. Try and get some sleep. I got into bed and couldn't find a position that felt any better. Rich kept pushing on my back as hard as he could. Finally, the contraction ended.

More came. I got out of bed and started "dancing", as Rich calls it. I swayed from side to side for hours, until my legs were tired and shaking. At some point, Ingrid and Hannah arrived . I got another dose of antibiotics. They asked me if I wanted to change positions (bounce on an exercise ball, get on all fours, or lay in bed) and I said I didn't want to lay in bed because it hurt too much. They reminded me that doing what hurts makes labor go faster, so I got into bed. Both Ingrid and Hannah tried pushing on my back, but it wasn't hard enough—I needed Rich to do it. We tried a few different positions, but I ultimately ended up rocking more.

I wanted to start pushing. They asked me where I wanted to be, and I picked the ground, on my hands and knees. As I waddled toward my chosen spot, I noticed the sky was lightening. I couldn't believe it was morning already.

I started intentionally pushing with each contraction, and soon my body seemed to be pushing as a reflex with each contraction. Ingrid told me to reach down and touch my baby. My first thought was, "can't you see I'm working here?", but I did. Then there was some whispering behind me. (They realized that though the head emerged normally, the shoulders weren't oriented for an easy passage.) Ingrid asked me to start grunting, so I did. (His head was out, but his shoulders weren't coming so easily, so he was losing oxygen.) Then she asked me to push with everything I had. (Ingrid wiggled an arm out and the rest followed quickly.) "It's a boy!"

I looked down to see a purple baby laying on the ground beneath me. A moment later, a cry. Ingrid passed him up between my legs and I held him close to my chest. I was helped to sitting against the side of the bed and we were covered in warm towels. A couple of minutes later, I push the placenta out. Easy, by comparison.

I felt like I could sit looking at this beautiful boy forever. Rich cut the cord. The baby started to root and Kim (a birth assistant) explained how to get a good latch. After a while, Rich held him and I took a shower while they shortened the umbilical cord. I got back into bed and stayed there, baby in my arms and Rich by my side, for weeks.

Wednesday, February 11, 2009

Bottle masala

Our church started holding a monthly potluck and January's theme was "roots", or food from your ethnic heritage. Rich and I chose to cook something from my Indian heritage and I set about trying to choose a good dish. And that's where I ran into some difficulty. I am Indian, but my family isn't Hindu. They're Catholic, have Portuguese last names, and eat meat. So a typical vegetarian Indian dish wouldn't really count.

After some Googling, I found plenty of Goan dishes. Some sounded familiar (sorpotel), but I was certain my relatives didn't use so much coconut and their sorpotel didn't involve dried pig blood. Plus, my family isn't from Goa. They're from the suburbs just north of Mumbai. I gave up on Goan recipes and decided to pick a recipe that was sure to represent my heritage: a recipe for Chicken Moile from one of my aunts. I Googled "chicken moile" and found that it's from the little community of Portuguese Catholics living just north of Bombay, known as "East Indians" (apparently the name refers to the British East India Company, as they live within walking distance of the west coast of India). This opened up the door to plenty of websites describing East Indian history, culture, and food.

Bottle masala in jar

As great as it was to learn so much about my heritage, there was a problem. The second ingredient in my aunt's recipe is "bottle masala". I had heard of this stuff—my relatives would bring it back from India whenever they travelled there. Surely, if my relatives couldn't find it in the Indian grocery stores of Chicago, I wouldn't find any in Madison. Then I forgot to bring some home while visiting my family for Christmas. So my only choice was to make some.

Perhaps this would be a good point to explain that bottle masala is a mixture (masala) of twenty-something spices that are individually roasted and pound into a powder, then packed into beer bottles and sealed. Bottle masala gets made once a year, when a group of women gets together to roast a big batch of chillies and spices and then pounds them with a giant mortar and pestle. The process usually takes more than a day. My plan was to scale a recipe down to one bottle worth and to make it in a spice grinder.

More internet research revealed that bottle masala recipes are family secrets. Apparently,

  • the first rule of Bottle Masala is: you don't talk about Bottle Masala.
  • The second rule of Bottle Masala is: you don't talk about Bottle Masala (Just use it quietly).
  • The third rule about Bottle Masala is: you don't ask questions about Bottle Masala.
I wasn't about to let some pesky rules get in the way of my search, so I scrounged up all the recipes I could find online (about 5) and stuck them into a spreadsheet to compare the proportions of spices. After a bit of research to find the English name for some of the ingredients, I cut down the recipe to make a single bottle and set about buying the couple of spices I was missing.

Bottle masala in pan

Then the day arrived. We spent hours measuring out miniscule quantities of spices, roasting them on the stove, grinding them in small batches, and coughing because of all the red chili powder in the air. When we finished, we celebrated by using our first tablespoon in that night's dinner: chicken moile. We had no idea if our bottle masala was even close to authentic, but the chicken was delicious. I've since asked my dad to compare our version to the authentic stuff from India, and he says it smells different.

I won't share the bottle masala recipe yet, as I'm hoping to refine it to make it more authentic. But I will share my aunt's chicken moile recipe. You'll need to find your own bottle masala to make it (I still have some of ours in the pantry that I'm happy to share—the sooner I run out, the sooner I make a new batch).

    Chicken Moile
    recipe courtesy of Elizabeth Gonsalves, known to family as Aunty Buddy
    • 2 lbs chicken (we cut up a whole chicken)
    • 1 tbsp bottle masala
    • 2 tablespoons canola oil
    • 2 large potatoes, each cut into 4 pieces
    • ¼ tsp garam masala (you can find this at the grocery store or make it in a spice grinder)
    • ½ tsp salt
    • 1 tbsp vinegar
    • 4 onions, cut into rings
    • 2 green chilies
    • 8 flakes garlic (we used one clove of garlic)
    • ½-inch piece of ginger
    1. Sauté onions, green chilies, garlic and ginger in canola oil until golden.
    2. Add chicken and masalas and cook for 15 minutes.
    3. Add potatoes, salt, and vinegar and cook until the potatoes and chicken are done.

Sunday, January 25, 2009

Samosa-thon 2009

It all started with Jess going to her cousin's baby shower.  She was told she had to have a baby shower, too.  So, in all of the preparation for that, we were told we'd have to get samosas for the party.  
In our 3½ years in Madison, we haven't found an Indian restaurant that we've been crazy about, so we weren't sure where to get samosas for this party.  It came to us that the solution to this problem would be to try all of the samosa in Madison, and find the one we liked the best.  Thus far, we've hit 6 different restaurants, but this is more a tale of the first 5 that we tried in one day.
The contenders:
Since we were picking these up and then going to eat them all at once later, we decided to nibble a little piece of all of them before moving on to the next place, to see how their crust was when they were fresh.  I only remember that Maharaja's crust seemed spicy, and India Darbar's was salty.  
When we got home, we unwrapped all of the samosas and sauces and started our test.  The first thing we noticed were the sauces.  As you can see in the pictures, each place gave the red onion chutney, and the (somewhat mysterious, but seemingly tasting like cilantro) green chutney.  India Darbar's green was somewhat scary in its neon-ish fashion.  The rest were much darker.  All but Taste of India supplied a tamarind sauce.  Which is a shame, since that is both of our favorite.  -1 for ToI.
Swagat started the tasting.  There was a nice flavor, and individual vegetables were distinguishable.  The onion chutney was very flavorful and delightful, while the tamarind sauce was sweet, with what appeared to be seeds of some sort floating around.
Maharaja was next.  The onions were not as tasty, but edible.  The tamarind was good, but not outstanding.  The filling had more spice, and vegetables were distinguishable, and the flavor was good.  
One bite into India Darbar's offering and I knew this one was not going to win.  There was an off-putting taste that I couldn't identify, but Jess knew what it was right away: Ginger.  Not that I don't like ginger, but it was just too over powering.  The potato was apparent, but it was pretty mushy.  The onion wasn't very appealing, and the tamarind was not as good as the first two.
Taj's offering didn't impress us either.  The onion here was much more finely chopped, almost puréed, and wasn't very pleasing to the palette.  I don't remember much about the tamarind, so I'm guessing it was about average.  The filling was definitely dyed yellow, and somewhat mushy.  I seem to remember seeing mushed peas along the outside of the filling, as well.  But the vegetable pakora was pretty good (ordering mishap; he thought I said pakora, I wanted samosas, he threw in the pakoras since I was probably the only person doing any kind of take out on a Sunday afternoon).
Taste of India was also dyed yellow, but had a consistency almost of mashed potatoes.  The flavorings were not great, and, again, the lack of tamarind really hurts here.  They are the most generous with their chutney sizes (the containers were larger than the rest), but they weren't all that great.  Now that I think of it, I wonder if the lack of tamarind was an oversight.  We've eaten here a few times, and I seem to remember the usual 3 chutney rack being brought out with the poppadums before.  No matter, as the samosa itself disappointed.
We quickly concluded that Swagat's samosas were the best of the day.  Jess ended up finishing both pieces from here, while giving me her remaining bites of ToI, Taj, and India Darbar.
Two days later, we went downtown for dinner at Maharani, since we were nearby and could sample a 6th samosa.  The offering here was pleasant – the crust was my favorite, as it was darker and bubblier than the other places.  The filling seemed as good as Swagat, and the chutneys were pleasant as well.  Most of this is to be expected, though, as both places are owned by the same people.
So, my ratings thus far are as follows: Maharani, followed by Swagat, then Maharaja, Taj, India Darbar, and Taste of India.  At this point, I know of one other restaurant west of the capital (Flavor of India) that we have yet to try.  If there are others that I've missed, feel free to let me know.

Thursday, December 04, 2008

Turkey Carcass Soup

Turkey Carcass Soup

I like cooking for Thanksgiving. I love to eat homemade cranberry sauce and warm rolls with butter. I could probably eat a whole plate of Lynn's twice-baked potatoes. But I'm not a big fan of turkey, and I really don't get excited about leftover turkey (I'll mention that Thanksgiving leftovers don't go to waste at our house, though, since Rich more than makes up for my lack of zeal in these areas).

Though I'd roasted a few turkeys before, I'd never saved the bones for soup. After roasting beef bones and making Phở this spring, I've felt prepared to make my own stock. So this Thanksgiving, we saved all the miscellaneous bony parts and a few days later I made this soup. It turned out great and has caused me to look a lot more favorably on the Thanksgiving leftovers situation.

This recipe is adapted from Cook's Illustrated's Turkey Noodle Soup. It makes about 3 quarts, enough for 8 to 10 servings.

    Turkey Carcass Soup
    • 1 turkey carcass (they called for a 12-14 pound turkey, but we had a 20-pounder), cut into 4 or 5 rough pieces to fit into pot
    • 1 large onion, peeled and halved
    • 1 large carrot, peeled and chopped coarse
    • 1 large rib celery, about 4 ounces, chopped coarse (we didn't have it, so I left it out)
    • 3 medium cloves garlic, unpeeled and smashed
    • 2 cups dry white wine
    • 1 bay leaf
    • 5 sprigs fresh parsley leaves (we didn't have it, so I left it out)
    • 3 sprigs fresh thyme
    • 2-3 cups medium-sized pasta (we used spaghetti broken into thirds and it though it was kind of messy to eat, it reminded me of the canned chicken noodle soup I ate growing up and the comfort was well worth the mess)
    1. Bring turkey carcass, onion, carrot, celery, garlic, wine, bay leaf, and 4 1/2 quarts water to boil in 12-quart stockpot over medium-high heat, skimming fat or foam that rises to surface. Reduce heat to low and simmer, uncovered, 2 hours, continuing to skim surface as necessary. Add parsley and thyme; continue to simmer until stock is rich and flavorful, about 2 hours longer, continuing to skim surface as necessary.
    2. Strain stock through large-mesh strainer into large bowl or container; remove meat from strained solids, shred into bite-sized pieces, and set aside; coarsely chop vegetables and discard remaining solids.
    3. Add pasta and reserved shredded turkey meat from stock; simmer until pasta is al dente, 10 to 12 minutes. Adjust seasonings with salt and pepper; serve.

Thursday, August 28, 2008

Heartbeat

The bump in my belly has a heartbeat!

Wednesday, July 30, 2008

What does this bread look like?

Wisconsin-shaped bread

For a couple days, I've been wondering what the shape of this bread reminds me of. Today, it hit me: it looks like Wisconsin!

Saturday, July 05, 2008

Pregnancy

Card
My sentiments exactly. Thanks, Nate and Kellie.

Wednesday, June 25, 2008

Perfect Peach Cobbler

Peach Cobbler

We had 6 peaches sitting on our kitchen table. On Monday evening, they were just ripe, but on Tuesday morning they were quite soft. I generally prefer to eat fruit fresh—especially peaches—but I knew they wouldn’t get eaten otherwise. Pie crust is a hassle, especially on a humid summer day, so I decided to go with cobbler. It turned out wonderfully. It’s best if you serve it all at once, as the cobbles get soggy if you let it sit overnight.
The recipe is adapted from Cook’s Illustrated’s Fresh Peach Cobbler.
    Fresh Peach Cobbler
    • Peaches
    • 6–7 ripe medium-sized peaches
    • ¼ cup granulated sugar
    • 1 teaspoon cornstarch
    • 1 tablespoon lemon juice
    • Cobbles
    • 1 cup all-purpose flour
    • ¾ teaspoon baking powder
    • ¼ teaspoon baking soda
    • ¼ teaspoon salt
    • 5 tablespoons cold unsalted butter, cut into ¼-inch cubes
    • 5 tablespoons whole milk
    • 1 teaspoon granulated sugar
    1. Adjust an oven rack to the lower-middle position and preheat the oven to 425°.
    2. Halve and pit each peach. Cut out any stringy flesh from the pit area. Cut each half into four wedges. Toss all the wedges with the ¼ cup of sugar and let them sit for 30 minutes, tossing them a few times. Drain them in a colander set over a bowl.
    3. Measure out ¼ cup of the drained juice and discard the rest. Whisk together the ¼ cup of peach juice, the teaspoon of cornstarch and the tablespoon of lemon juice. Toss the peach juice mixture with the peaches and transfer to a 8-inch square or 9-inch circular glass baking dish. Bake until the juices bubble around the edges of the dish, about 10 minutes.
    4. While peaches are baking (if you start sooner, the dough won’t rise properly in the oven), combine the cup of flour, the ¾ teaspoon of baking powder, the ¼ teaspoon of baking soda, and the ¼ teaspoon of salt. Scatter the butter over the top and use forks, a whisk, or a pastry blender to cut the butter into the flour mixture until it looks like coarse crumbs. Add the 5 tablespoons of whole milk and toss with a rubber spatula just until it forms a cohesive ball. (Don’t overmix it or the cobbles will be tough!) Split the dough into 6 mounds.
    5. Arrange the dough mounds over the peaches, spacing them about ½ inch apart. Sprinkle the 1 teaspoon sugar over the dough mounds.
    6. Bake until the cobbles are golden and the peaches are bubbling, 16 to 18 minutes. Cool on a wire rack until warm, about 20 minutes, before serving.